In an earlier post, I outlined a method for reinforcing a rotted carport post. That article dealt with repair of a 4"x6" post, and mentions the existence of a similar problem with a 4"x4" post. The 4"x4" post had to be replaced entirely. I did a poor job of photographing that process, but here is a brief outline of what was involved, for whatever it's worth.
First off, here's a view of the rotten bottom of the subject post.

That post was poorly situated from the get go, by a stoop where it was surrounded by paving stones that really prevented moisture from evaporating. About twenty years of that existence, and the post is finished.
The key to replacing the post was to provide adequate support for one corner of the carport's roof while the rotten post was removed. I installed two temporary supports. The one in front was an adjustable jack-stand that I fabricated from a 4"x4" and a screw-type bottle jack, like so.


That worked out nicely, but it was only part of the solution. The front of the carport being supported by that jack-stand was not a true structural member of the carport's roof. I added fasteners to the inside corner of the carport's roof to improve the structure.

That helped. It improved the jack-stand's purchase on the entire roof structure at that corner, but I still needed to add a support for the sloping side of the carport's roof, in order to be certain of secure support when I removed the rotten post. For that, I rigged a 2"x6" prop attached with carriage bolts, like so.


And that successfully completed my support scheme for replacing the rotten post.
Removing the old post was not too difficult, and now I have a new, pressure-treated post installed in its place.

And here's the new post on its own.
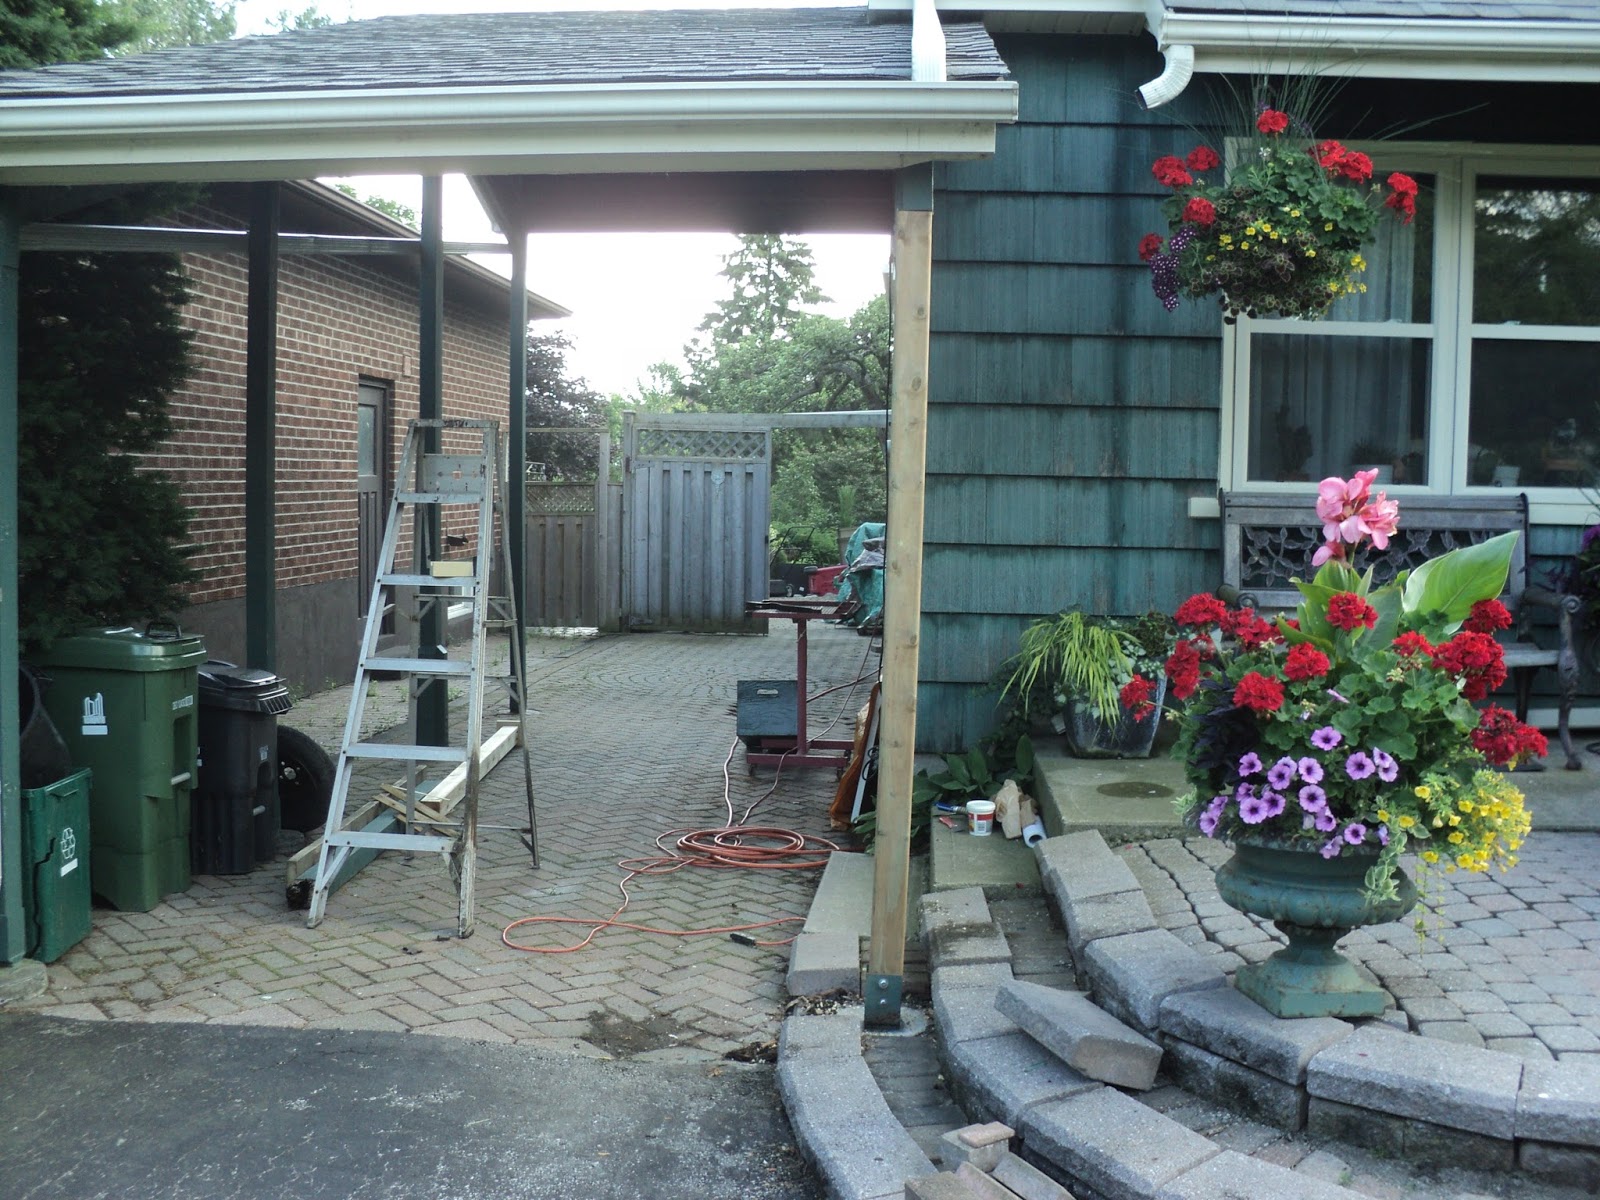
Now it has to be primed and painted, and the downspout and house number put back in place.
# # #
# # #
No comments:
Post a Comment