* * *
The need for metering diaphragm replacement is characterized by an engine that won't run with the choke fully off. Diaphragms stiffen somewhat with age, and a stiffened metering diaphragm can't deliver an adequate fuel supply to the engine. The pump diaphragm is normally replaced at the same time as the metering diaphragm.
* * *
For a typical carburetor removal procedure, see this post.
The diaphragm kit for this carburetor is Walbro P/N D20-WAT. That kit contains extra parts for other carburetor models. Select only the parts that you need for your unit.
Off the engine, the carburetor looks like this.
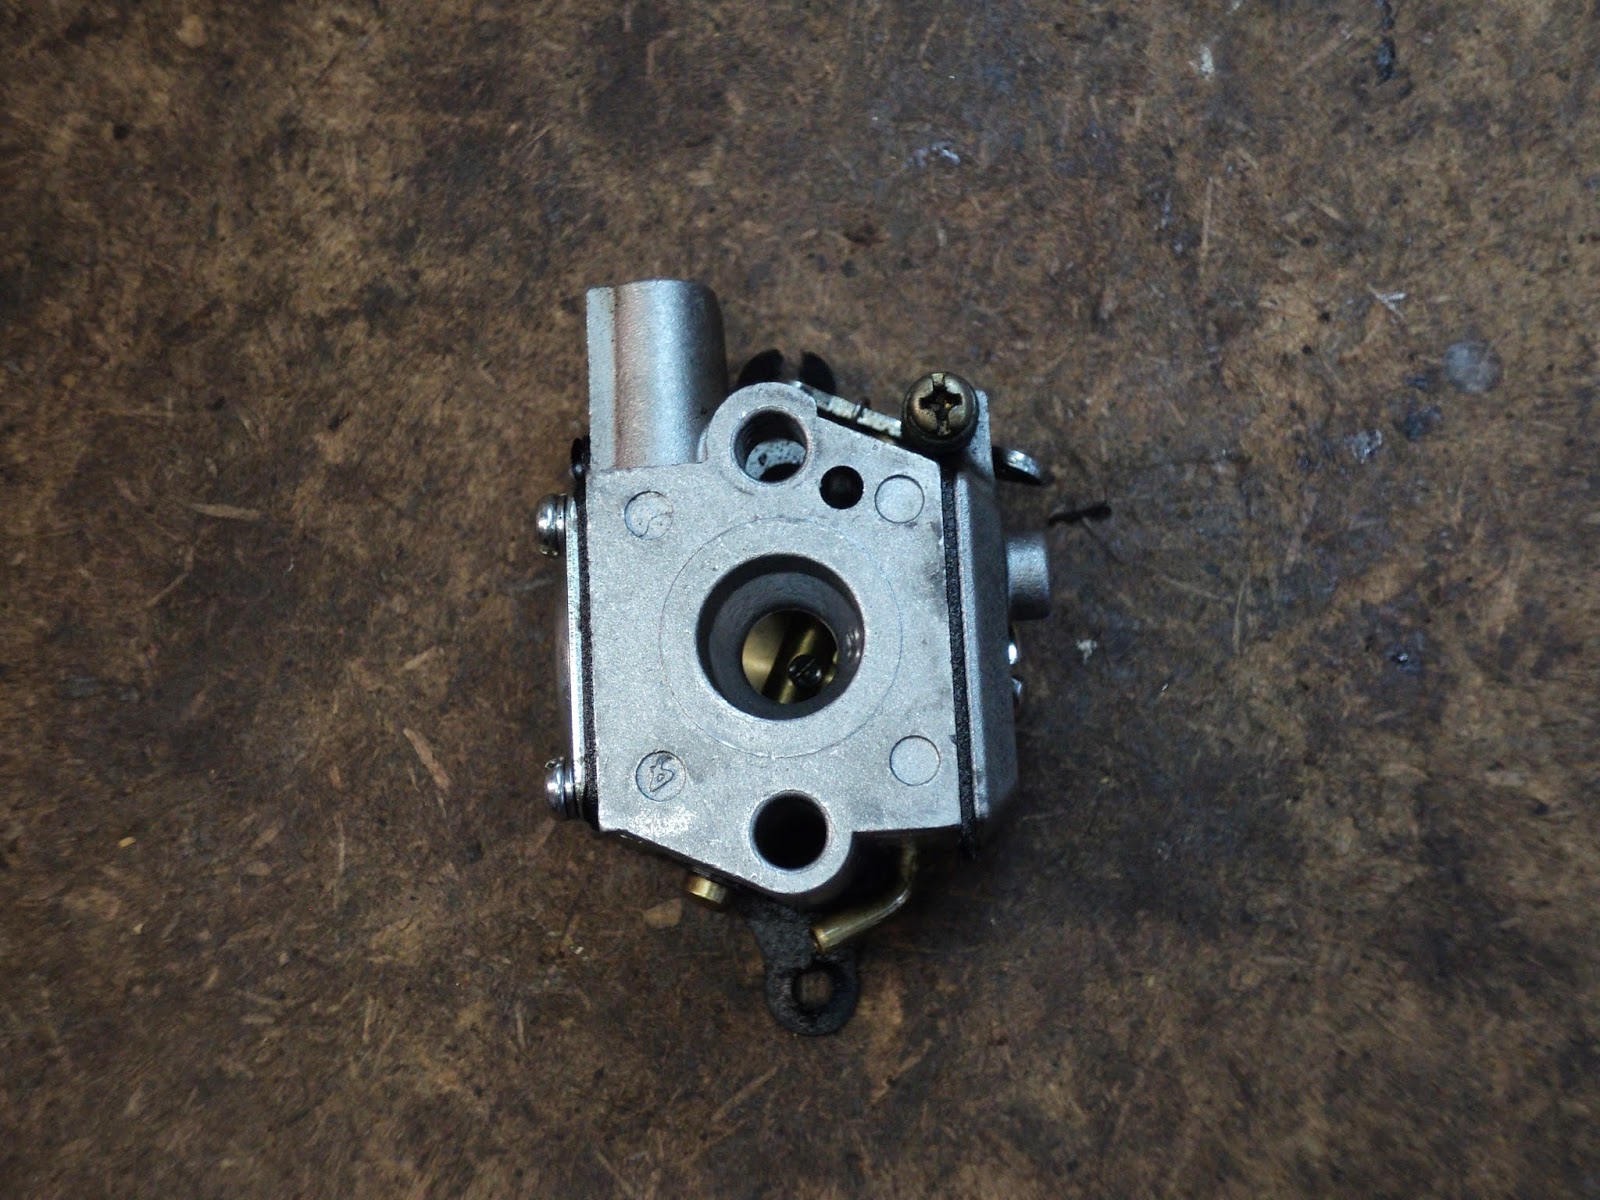
The metering diaphragm resides at the left side; the pump diaphragm at the right. You'll need a No. 2 Phillips screwdriver.
Metering Diaphragm And Gasket
Four 4-40 x 1/4" pan head screws w/captive lockwashers hold the metering diaphragm cover in place. Removing them will permit you to get to here.

The diaphragm and gasket will likely be stuck together, as they are in the photo.
NOTE that the gasket goes directly against the body of the carburetor.
NOTE also the small hole in the diaphragm's cover. That hole is there to admit atmospheric pressure to the outboard side of the diaphragm. The hole must be clear of debris.
The Pump Diaphragm
A single 8-32 x 3/8" pan head screw holds the cover in place. Here's view of the dismantled pump.

NOTE that the diaphragm goes directly against the body of the carburetor.
At reassembly, the throttle arm will tend to interfere a bit with getting the cover back in place. Jam the throttle butterfly part way open with the shank of a small twist drill to avoid that.
# # #
# # #