I have an ancient 3-speed bike that's been languishing under a tree for a long time. The rear hub feels a bit gritty when I turn it. I'd like to have the bike roadworthy again, so best I attend to the hub and get it clean and re-lubricated before I put the bike on the road.
The rear hub is a Sturmey-Archer 'AW' series hub -- the 'classic' hub of which zillions were made. It's not a difficult device to deal with. For all its apparent complexity, it's a pretty straightforward thing to dismantle, clean and reassemble. Just keep things in order as you go.
- - -
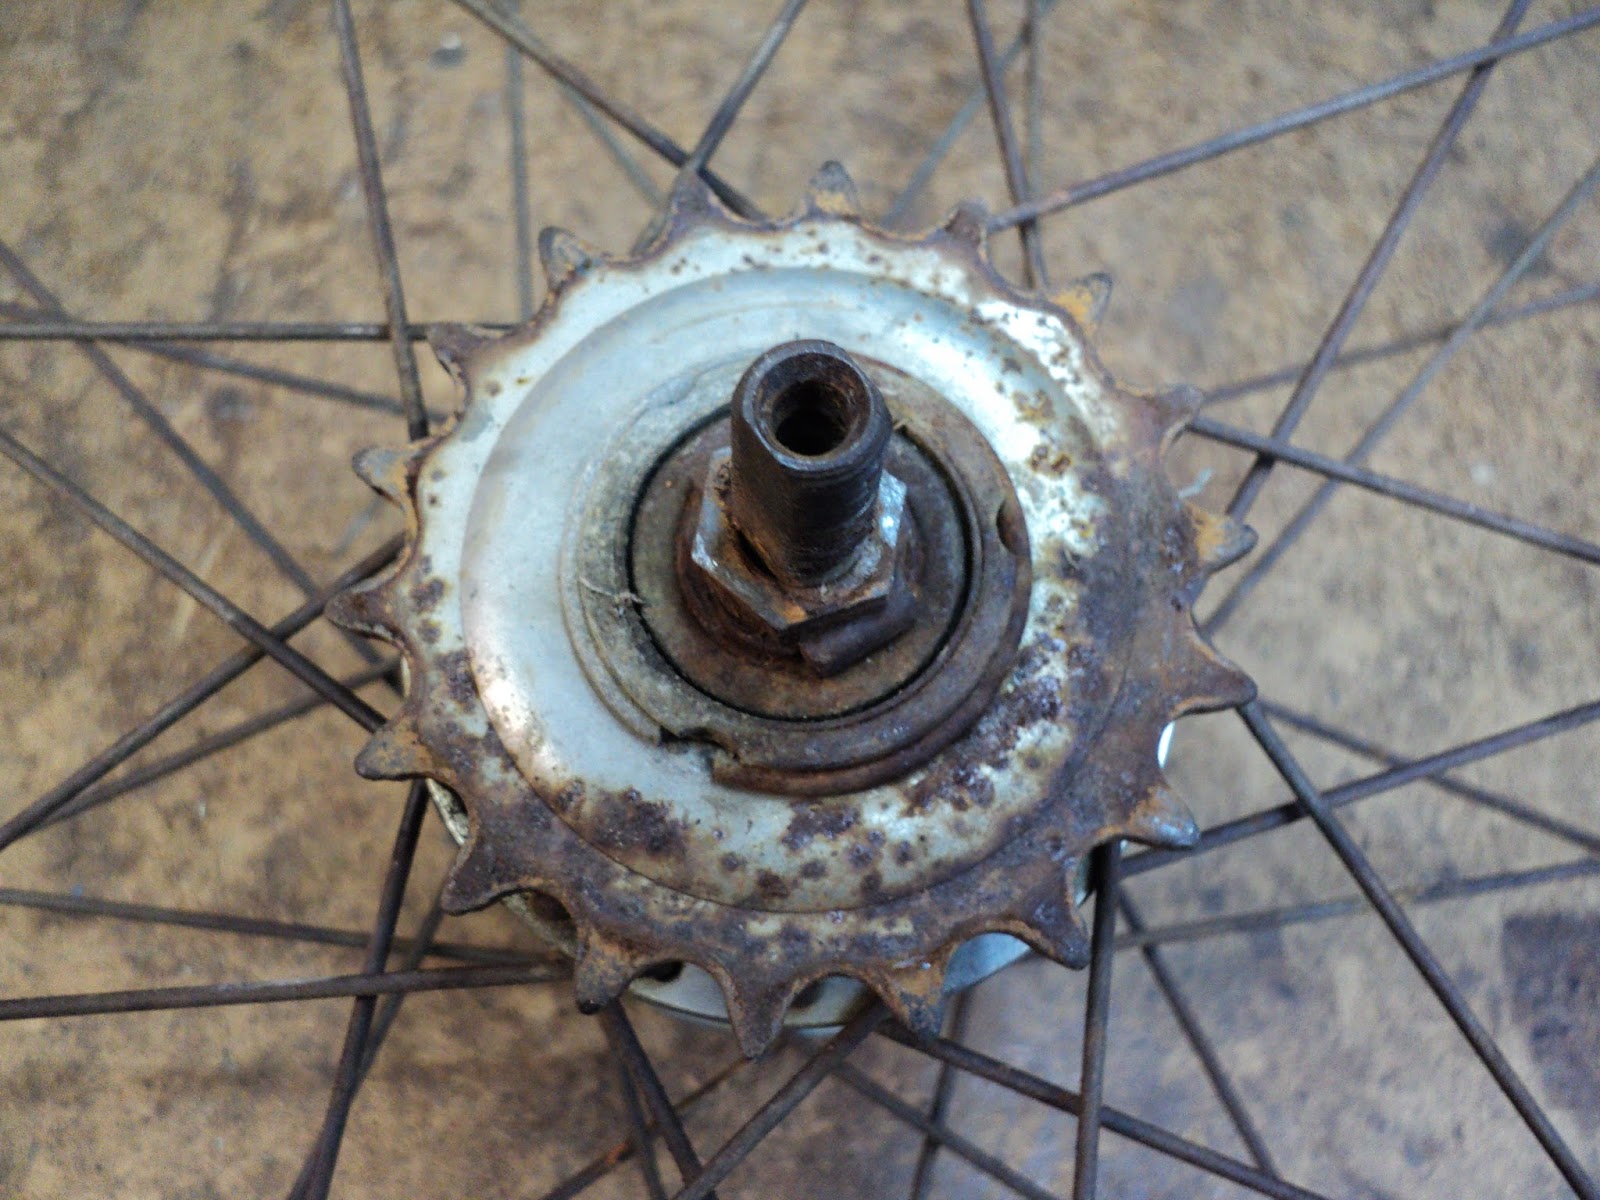
Here's a view of the sprocket side of the hub with the indicator chain, and the fastening nuts and washers removed.
Disassembly
Note the snap-ring. That has to come off to remove the sprocket, and two spacer washers and a dust cap that are underneath it.
Next is the spindle bearing cone. You'll need 15mm and 16mm spanners. Note the special keyed washer that fits over the end of the cone. You may need to hold the spindle from turning as you completely unscrew the jam nut and cone. The spindle is 8mm A/F.

And here we are with the cone removed.

Exposed for removal are the clutch spring and its cap, and the four-pronged driver. Remove those three items. Here's a view of them off the hub.

In the second-last photograph, note the large ring showing one of its two notches. That's called the 'ball ring', and it has to be unscrewed[1] in order to get at the remaining components of the hub. The factory no doubt has a spanner for that, but I can't see that such a spanner is available anywhere. You're left with hammering at a notch in the CCW direction with a suitable punch. The method does work if you keep at it. The ring on my hub was very obstinate, probably from having been undisturbed for so long, but I did finally get it to unscrew.
Here's a view of the removed ring and its underlying components.

All that remains in the hub are the left side cone and its bearing, and the spindle. Before removing the cone, note and record the length of the spindle that protrudes beyond the cone's jam nut; you'll want to get that affair back together exactly as it was with respect to axial dimension. Here's a view of the removed spindle.

And that's it. All that's left in the hub is the left side spindle bearing. I'll leave that alone and just clean it in place. Everything can get a session at the parts washer, and it'll all be ready for reassembly. I found one broken pawl spring that I'll have to get a replacement for. Also, the plastic oil port/cap is a ruin, and should be replaced. Aside from that, the hub appears to be in fine condition, and should have many trouble-free miles still in it.
Pawl Spring
Parts are not readily available for these things, it turns out. I had to fabricate a pawl spring from some straightened out spring wire. Here's what I came up with.

My spring is on the right. It's slightly heavier gauge wire than the original, but it still fits. (The original spring on the left is made of 0.012" diameter wire.) My spring leaves a bit to be desired, but it'll work.
Oil Port/Cap
It turns out that the hole for the part is threaded M6. I cut and ground down a screw to a very short length, and that can serve as my new oil port cap. Here's the short screw.

I'll have some reassembly notes to follow.
- - -
Reassembly -- SUNDAY, MAY 11, 2014
Lubrication
I packed the bearings' ball cages with white lithium grease, and oiled everything else liberally with light mineral oil. I'll give the hub a final squirt of mineral oil through the oil port before I put it on the road.
Bearing Adjustment
Ideally, you want to end up with very light bearing pre-load, with no perceptible play at the wheel rim.
The keyed washer at the right side cone makes it difficult to make fine, incremental adjustments -- the washer forces quarter-turn increments of adjustment onto the right side cone. I made my final pre-load adjustment at the left side cone, where there's no keyed washer. It's a trial-and-error process; just keep at it until it's satisfactory.
- - -
Note:
[1] The ball ring has a two-start thread. I've read warnings that it's important to mark the thing before removing it, so that you can get it back together with the hub's shell the same way. While I'm inclined to agree that machine parts should always go together as they were, I think the warnings in this case are pure superstition. I can see no good reason for them whatsoever.
# # #
# # #