The cover is fastened in place by four 10-32 x 1 1/8" screws. Two of the screws came out as they should. One screw broke off leaving its threaded portion seized in its brass threaded insert, and one screw neither broke nor came out -- it just kept turning along with its threaded insert. Here's the site of the broken-off screw. (That screw remnant got bored out -- more on that a bit later.)
 The screw that just kept turning had to have its head drilled off. A 1/4" cobalt drill made short work of drilling the screw's head. The seized remainder of the screw and its threaded insert had to be torn out of the plastic filter enclosure half.
Pictured below are what's left of the drilled screw head, the screw remnant seized in its insert, the broken screw and the two good screws.
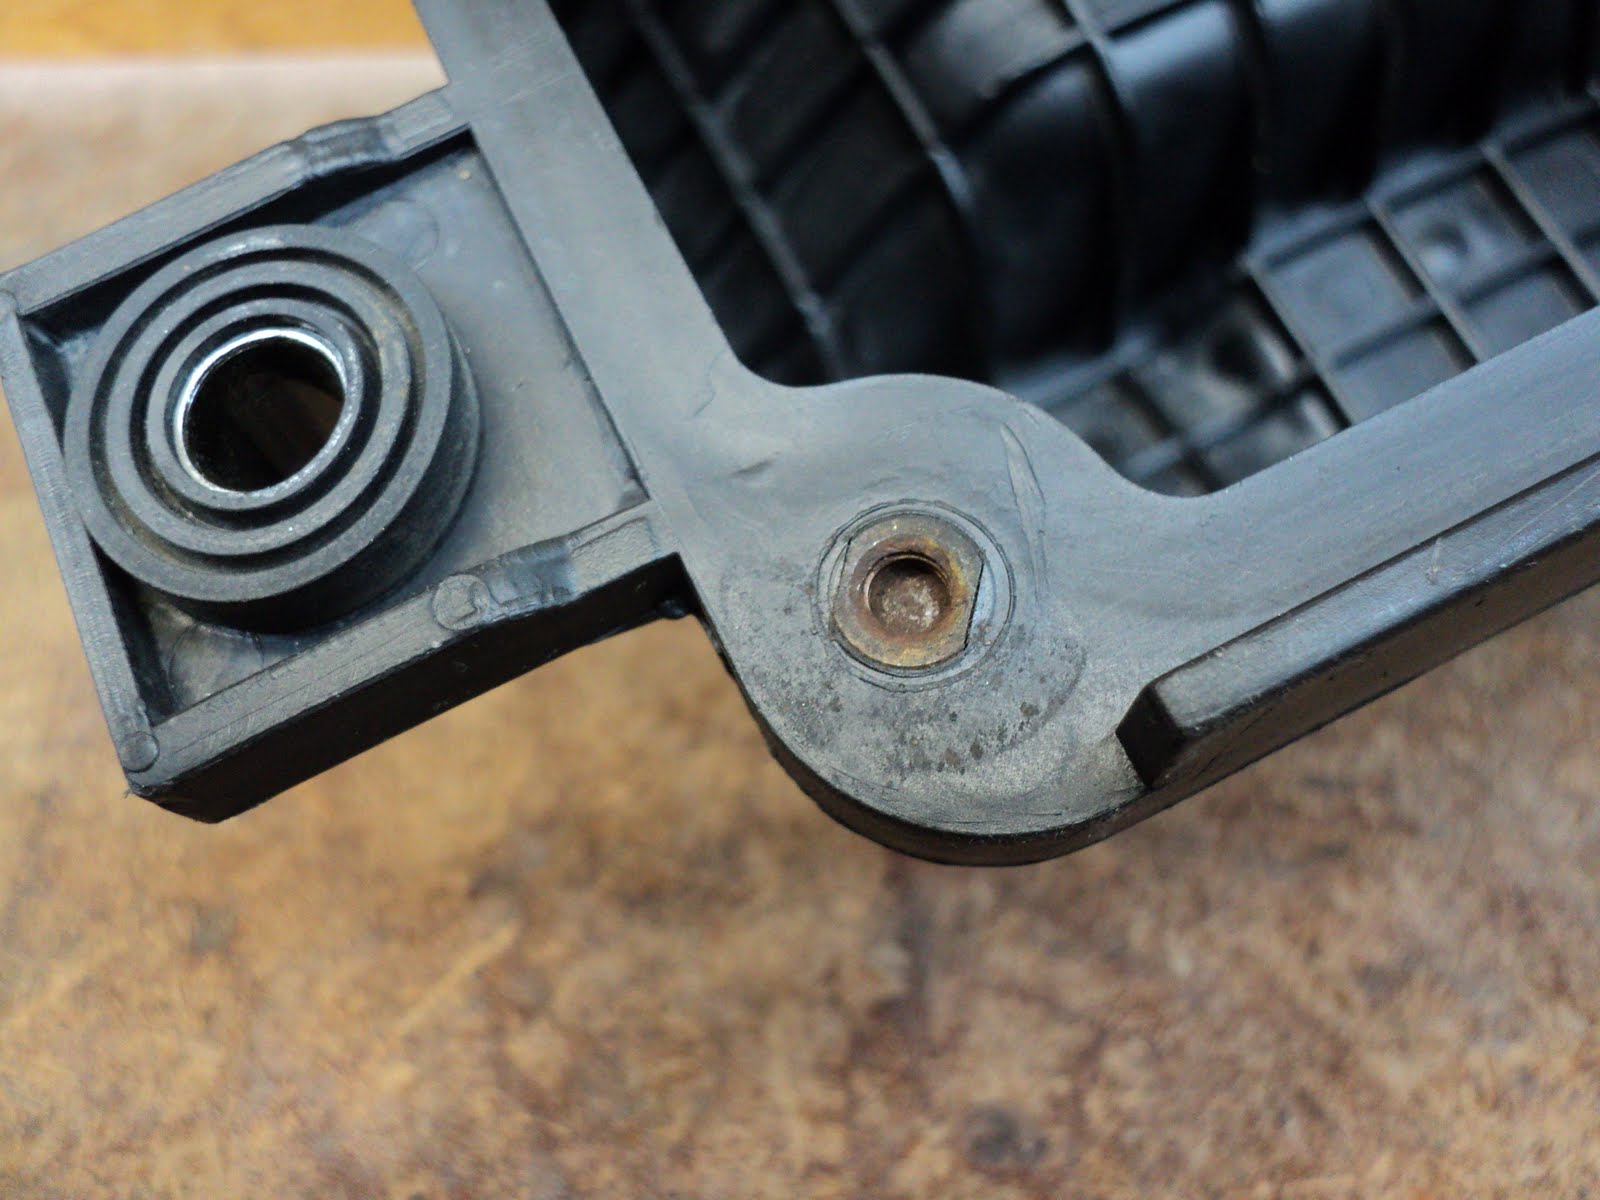
 And here's what I have at the site of the torn-out threaded insert -- a big empty hole.
 I'm thinking that a couple of 10-32 tee-nuts will do for getting this back in good order, with functionality no different from what it originally was.
- - -
And here are the tee-nuts ready for installation.
 At the left is an unmodified tee-nut. Next to it is the nut that will go in the bored out brass insert. Its barrel will be a nice close fit; I'll just glue it in with CA adhesive. At the right is the nut for where the threaded insert is gone. I had to shorten it a bit in the lathe. While I was at it I also cut three shallow grooves in its barrel to give the epoxy I'll be using some 'tooth'.
Drilling Out the Screw Remnant
The auto makers all seem to be fond of using very hard steel fasteners everywhere. It took a 3/16" cobalt drill in the drill press to drill away the broken screw's shank. It seemed to me that the screw's shank was considerably harder than its head.
Boring the Brass Insert
The barrels of the tee-nuts have a diameter of 0.245", just shy of 1/4"(0.250"). A letter size 'D' drill is 0.246", so that will give a nice close fit suitable for CA adhesive.
Enlarging a hole in brass is actually trickier than it looks -- brass has a tendency to snag the cutting lips of a twist drill and stall it. I had to do it by small increments; 13/64", 7/32", 15/64", letter size 'D'. I countersunk the underside of the hole a little to accommodate the fillet where a tee-nut's barrel meets its flange.
- - -
The Site of the Missing Insert
Where the threaded insert tore out altogether I'll have to use epoxy as both filler and adhesive. The epoxy is unlikely to adhere well to the plastic, so I've cut a gouge in the wall of the hole with a fine Dremel burr so the epoxy can lock to it axially.
- - -
And here's the tee-nut glued in place at the site of the bored out brass insert.
 That turned out very nicely.
The installation at the site of the gaping hole is going to be a bit messy. I've applied a mask there to constrain the epoxy from seeping up above the tee-nut, like so.
 To prevent the epoxy from fouling the tee-nut's threads, I put a short length of 10-32 threaded rod into the nut that I had first smeared with WD-40. That was a good move, because there was no way to do the job tidily. The result is not pretty, but functionally it's fine. Here's how it looks underneath.
 Topside it looks good.
 So there we are. The housing's fastening arrangement is back to exactly what it was functionally -- 10-32 all around and no separate nuts to fumble with when installing the cover.
Needless to say, when my son puts it back together he's going to apply some anti-seize compound or grease to the screws' threads.
# # #
# # #
No comments:
Post a Comment