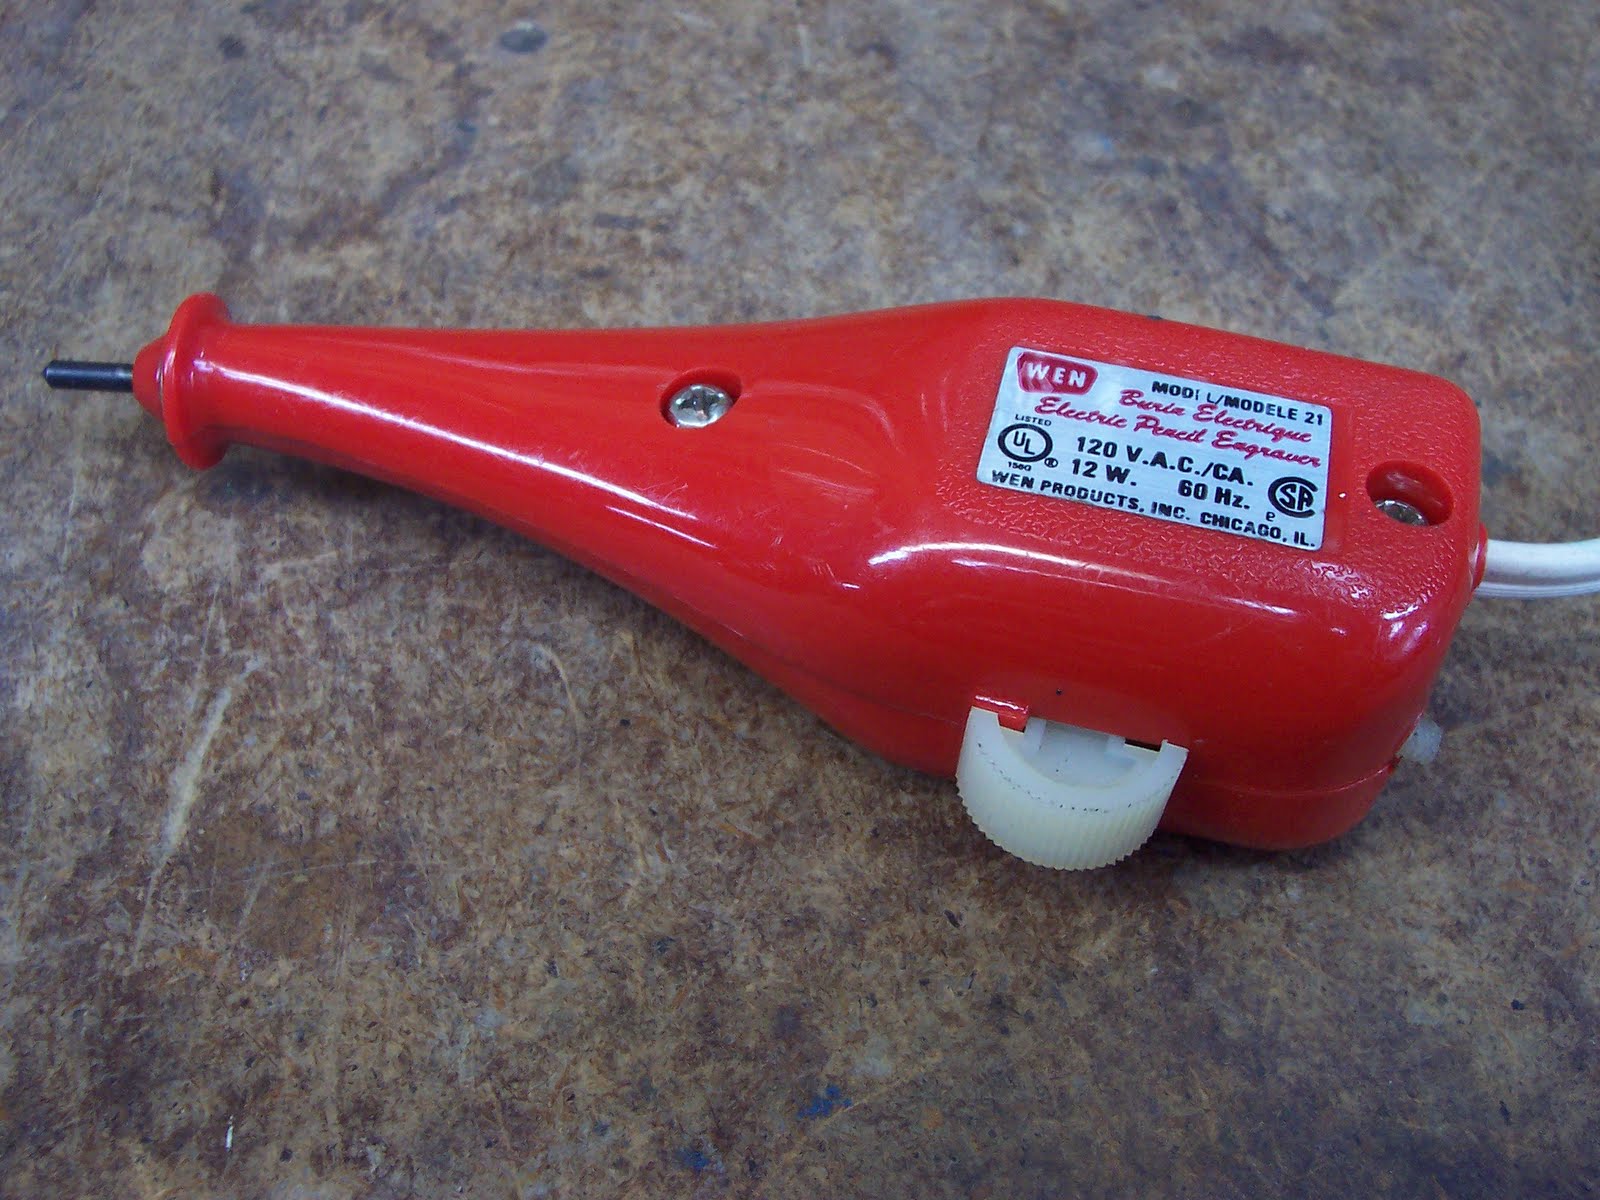
 I don't think it's ever seen much use. It's in fine condition except that its stroke adjustment screw's head is broken off. (What's left of the screw is protruding from the back end of the tool below the line cord.)
I didn't think Wen was still with us, but they're still a going concern with a website. I don't think they bother much, if at all, with the Canadian market; I never see their stuff around here.
While looking over their website, I learned that Wen Products was founded the same year as I was born -- 1951. And they still make this engraver. It's now the Model 21B. (Maybe the 'B' denotes an improved stroke adjustment screw.)[1]
In any event, this tool is well worth repairing. An engraver is good to have in the shop when you're dismantling an unfamiliar piece of machinery. You can use it to mark parts' relationships with one another to ensure that a thing goes back together exactly as it came apart. That can save a lot of aggravation at times.
Here's a view of the tool opened up. It's just two threading screws and a snap-ring to get it apart.
 You can see how the stroke adjustment screw works. It's a nylon 8-32 screw with a conical end. The further in it's screwed, the more it limits the travel of that L-shaped armature, and the shorter is the engraving point's stroke.
You can't really see it in the photo, but the nylon screw has had an unsuccessful repair attempt made on it in the past. That complicates things a bit because the screw's thread has been distorted at the broken end by the repair attempt. I don't have any 8-32 nylon screws on hand, so I'd really like to find a way to salvage that existing screw. What I have in mind is to use the female portion of a binder post (aka 'Chicago screw') to recreate a handle end on the screw remnant.
- - -
And with some difficulty, that worked. Here's a shot of the finished screw repair, along with examples of Chicago screws.
 I used CA adhesive to make the screw and 'nut' assembly permanent.
The difficulty lay in cleaning up the screw's battered thread. An ordinary threading die was too thick to be workable. What I needed, in effect, was a very thin threading die that I could pass the screw remnant through to chase its thread. Since nylon is a relatively soft material, I was able to create an ersatz thread-chasing die from an ordinary 8-32 steel hex nut, like so.
 I sawed through one side of a nut, and ran a tap through it to clean up the burrs left by the hacksaw. For a nylon screw, it proved to be adequate as a thread-chasing die, and got the screw cleaned up to the point that I could work with it.
Here's the engraver all back together in good working order.
 I'm almost surprised that this turned out as well as it has. I was a bit concerned that the adjustment screw might tend to back out from the vibration that it's subjected to in operation, but it appears to be ok. The tool is working nicely now.
I do think, though, that the adjustment screw's design was a bit marginal. It remains to be seen whether it will need further attention, and possibly a rework of some sort to improve it. Aside from that, it's a well-thought-out, well-constructed tool.
- - -
SATURDAY, SEPTEMBER 3, 2011
Addendum
A reader in Australia informed me of something I was unaware of -- there's supposed to be a compression spring under the head of the stroke adjustment screw to keep it from wandering off its setting. The spring was long gone from the unit I had.
The Australian gentleman was of the opinion that the spring was awfully forceful for the screw. That may explain why the screw on my unit broke in the first place. As it's turned out, my adjustment screw has had so much abuse that it's now quite a snug fit in its nut, and stays put without a spring.
As I've said, the adjustment screw's design leaves a bit to be desired on what is otherwise a good tool.
- - -
SATURDAY, NOVEMBER 26, 2011
Addendum II
I noticed that someone had been googling in search of a replacement tip for this tool. I'm afraid they're out of luck on that; Wen's website offers no replacement parts for any of their portable power tools.
It would be possible to remove the stylus and chuck it in a lathe for sharpening. Provided that the chuck can be locked onto the spindle so it can be safely run in reverse, you could ever-so-carefully present a counter-rotating hand grinder wheel to it, like so.
 I'll give that a whirl, and see how I do.
- - -
And here's the outcome.
 Not bad, not fabulous; it'll do. I had to switch to a finer, larger diameter wheel than the one in the photo to finish it satisfactorily.
- - -
Since I had the stylus out, I cleaned the spring and stylus and the stylus' ways and applied fresh grease. There's a synthetic grease known as 'STOS' that's excellent for fine mechanisms. It's expensive; the little 2 oz. tub pictured below set me back about twelve dollars.
 Gun shops carry it.
Here's a way to get the stylus' spring compressed for reinstallation of the stylus in its ways; it's very difficult to do otherwise.
 The jaws gripping the stylus are those of a small set of long-nose Vise-Grips (Vise-Grip model 4LN). Be careful with letting go the Vise-Grips once the stylus is in position -- that spring wants to extend quite energetically.
- - -
SATURDAY, DECEMBER 10, 2011
Addendum III
I noticed something about the tool's operation that I don't much care for -- quite a lot of vibration is expressed at the head of the stroke adjustment screw when the tool is running. That's a source of needless noise, and it can't be good for the screw.
I suspect the reason for it is the way the stroke adjustment screw's nut is housed -- it's just a loose slip fit in its recesses. Epoxy can be put to use as a filler, even in places that need to be taken apart. I'm going to see if I can create a 'zero-lash' fit for the nut with epoxy, and see if that has any good effect on the tool.
Here's a close-up view of the nut in its right side recess. You can see that it has a fair bit of clearance in back of it.
 That clearance makes for a fairly mobile nut, even when the tool's casing is all closed up. I'll 'bed' the nut in epoxy on that side.
- - -
Here's the nut's recess sufficiently filled with slow-setting epoxy.
 And here's the nut in place.
 Needless to say, there was some squeeze-out that I had to clean up. I'll leave that to harden overnight.
- - -
There was a little bit of epoxy-fouling of the nut's thread; a chase with an 8-32 tap took care of that.
Now that I have the nut immobilized on one side, I have to do the same for the other side, while at the same time ending up with a casing that can still be taken apart. That's a little tricky.
- - -
Here's a view of both casing halves just prior to assembly for fully bedding the nut.
 I've inserted a screw at either side of the nut, so the nut can't fill with epoxy, and each screw will be readily removable. I've lightly smeared the exposed surfaces of the nut, the screws and the surrounding lands with WD-40. I've filled the left side nut recess with epoxy. It's time to put it together, clamp it and leave it for the epoxy to cure, like so.
 - - -
- - -It did work out, but not quite as I expected. Here it is opened back up after the epoxy had fully hardened.
 The nut adhered where I thought I'd prevented it from adhering, and came free from where I thought I'd adhered it. Beats the bleep outta me.
Anyway, I appear to have what I was after -- a zero-lash fit for the nut that can still be taken apart. I'll take the two barrier screws out and clean up what squeeze-out there is under them.
- - -
The nut's thread wanted chasing again -- there was a tiny bit of epoxy incursion. Here it is with the stroke adjustment screw back in place.
 'Looks like it'll work. I'll reassemble the tool and see if all this has had any good effect.
- - -
Splendid! (There's a word you seldom see or hear anymore.) A splendid outcome.
The vibration at the head of the adjustment screw is now all but entirely suppressed. It's easier to adjust. I can't say that the tool is quieter, but it's smoother -- it no longer sounds like it's thrashing about inside.
So there we are. Epoxy is versatile stuff, and can be put to use in unorthodox ways to very good effect.
- - -
Note -- SUNDAY, NOVEMBER 27, 2011
[1] I see that Wen has done a redesign. Their new engraver is the '21C', with a revised stroke adjustment. 'Took them long enough to get around to that.
# # #
# # #
This is pretty cool, I have recently bought this same tool and it worked out for a while but eventually it stopped turning on I'm not Sure what happened. I'm planning on opening it up to see if there's something wrong with the motor or the cables connecting it. Thanks for this post it was informative
ReplyDeleteI really appreciate all your time and effort you put into this! Thank you. Very helpfull
ReplyDeleteThis comment has been removed by the author.
ReplyDeleteThis wasn't exactly what I was searching for, but you did surely (and right away) give the answer i was looking for! Man, you did a really fabulous and extremely informative post!!!...THINK I'LL BOOK MARK THIS :)
ReplyDeleteInstead of making all of those adjustments to the nylon screw I replaced it with a steel screw and placed two nuts behind the spring to be able to adjust the tension.
ReplyDeleteI have one of these, I found it today while searching for design inspiration for a miniature electric chisel. Thank you for saving me the trouble of dismantling it.
ReplyDelete