Pictured is the swivel base of an articulated magnifier lamp. I tugged the lamp toward me a little too forcefully yesterday and SNAP, the post broke off.
 This is not the first time I've had to repair one of these things, but this one might be easier than previous ones because of the way that post was made. Those two holes go well up into the base portion, and I can exploit that feature to very good effect here.
Fortunately, the break is a clean one where the pieces mate perfectly when pressed together. That makes it much easier to get a good result. I can glue the post back on with CA adhesive, then come up with two steel rods of the right diameter to occupy those two holes. I'll install them with epoxy fill and I should have a sound repair.
- - -
It turns out that 3" common nails are about the right diameter; I just had to enlarge the holes a bit with a 5/32" drill, and the nails fit nicely. Two 1 1/2" lengths without points will do the job. Here's a photo, with one rod in place.

And finally, here it is with both rods and the epoxy fill.
 I used five-minute epoxy, but I'll leave it to cure overnight before putting the part back in service. There's no hurry for it, and it's always best to let an epoxy repair cure fully before loading it.
- - -
 And here it is back on the job. That should last approximately forever, give or take a day.
For a previous repair to one of these, I had to fabricate a new post from 1/2" diameter steel rod. (The broken-off post was either missing altogether or unusable for some reason.) 1/2" diameter was slightly undersize of the original post, and consequently ill-fitting in its socket. I got around that by making a wooden mounting socket for it with a 1/2" diameter hole bored in it.
If it ever comes to that again, I have a lathe now and I can turn an oversize steel rod down to the correct diameter.
- - -
SATURDAY, APRIL 30, 2011
Addendum -- Another One Bites the Dust
A lamp at my workplace with the identical type of swivel base has broken as well.
 This one broke quite a bit lower down on the post, so I can repair this one with a single 'dowel', instead of the two rods that I used for the previous one.
That broken post's inside diameter is just shy of 3/8". I have some 3/8"-16 threaded rod whose thread crests are quite flat. Consequently, it's well undersize of 3/8". Consequently, it fits the post's bore just fine and will make ideal material for a dowel. The post's bore begins to taper inward at opposite sides part way up its length, so some filing to get the dowel to fit will be in order.
- - -
Here are the dowel and the upper part of the base ready for assembly.
 Note the scores that I made with a Dremel burr on the inside of the upper part of the bore. The plastic there was very smooth and glossy -- unlikely to bond well with epoxy. The scoring will provide sufficient 'tooth' for the epoxy to get a grip on.
This post didn't snap off as cleanly as the previous one did, so it gave me a bit of difficulty as I was doing the initial glue-up with CA adhesive. I managed to get it together well enough, though. I used slow-curing epoxy here so I'd be sure not to run out of assembly time. Here's the finished part after curing overnight, and a bit of filing to correct the imperfect CA adhesive glue-up.
 And here it is back on the job.
 If you have one of these lamps, you might want to fit its base post with a reinforcement rod or rods and epoxy fill as a preventative against breakage. The swivel base posts on these things appear to all be doomed to fail.
* * *
Whoops! -- THURSDAY, NOVEMBER 1, 2012
Well, that repair lasted a year-and-a-half, until someone snapped the base post again. Here's a view of the damage.

I'll have to bore 3/16"[1] all the way through the post and the lamp base. Then I can fasten the two pieces back together with a 10-32 screw and nut.
- - -
I've bored through the length of the post, applied CA adhesive and clamped the thing togrther in the vise, like so.
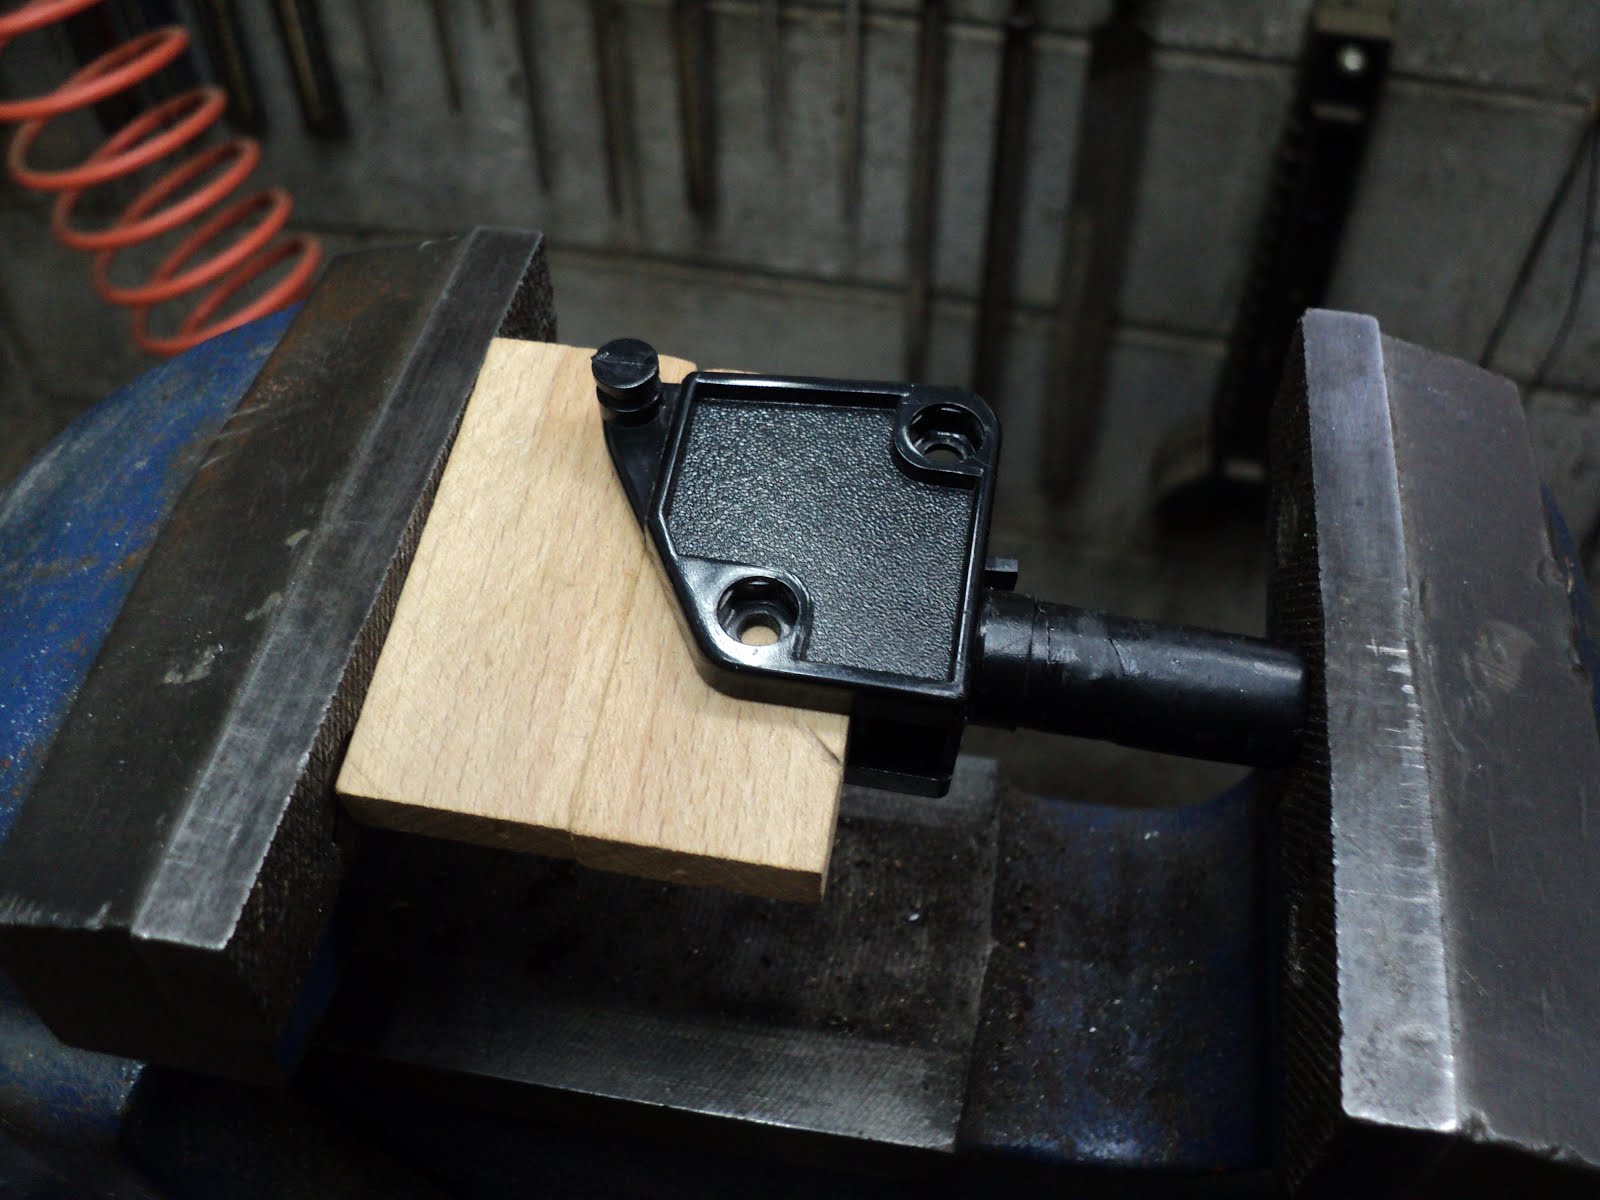
I'll leave that to cure overnight. If the parts bond together well enough, I'll be able to complete the bore using the bored post as a drill guide.
- - -
Here's the glued-together lamp base set up in the drill press vise to be bored fully through.

And that worked fine. I got it bored through and the glue join is still intact.

A 2" screw plus a split lock washer and a hex nut finish it off.

- - -
Note:
[1] 3/16" (0.1875") is usually, but not always, clearance diameter for a No. 10 screw. The specs for No. 10 screws permit a major diameter as great as 0.190", so in some cases a 3/16" drill won't give you a clearance diameter hole. In this instance here, 3/16" worked ok.
# # #
# # #